Plaque Seeker Tip
- Cordless Select WF-10K
- ION Cordless Water Flosser
- Cordless Select
- Aquarius Professional
- Cordless Freedom
- Cordless Express
- 60th Anniversary Tip Case (Empty Case Without Any Tips)
- Toothbrush Tip
- Cordless WF-10K Bundles
- Classic High-Pressure Jet Tip
- Therabreath Mouthwash Samples Bundle - 4 packs
- Cordless Enhance Water Flosser
- Orthodontic Tip
- TheraBreath Fresh Breath Mouthwash, Mild Mint Flavor (16 oz, 540ml)
- Tongue Cleaner Tip
- Pik Pocket Tip
- Plaque Seeker Tip
- Starter pack
- Aquarius® Professional WP-670K
- WP TS-105E WF Tips Storage Case
- Cordless Freedom Bundle
- ION Cordless Bundle
- Professional set
- Implant Denture Tip
- Aquarius Professional Bundle
- Cordless Enhance Water Flosser Bundle
- Cordless Express Bundle
Plaque Seeker Tip
$14.00


- Overview
- Support
Overview
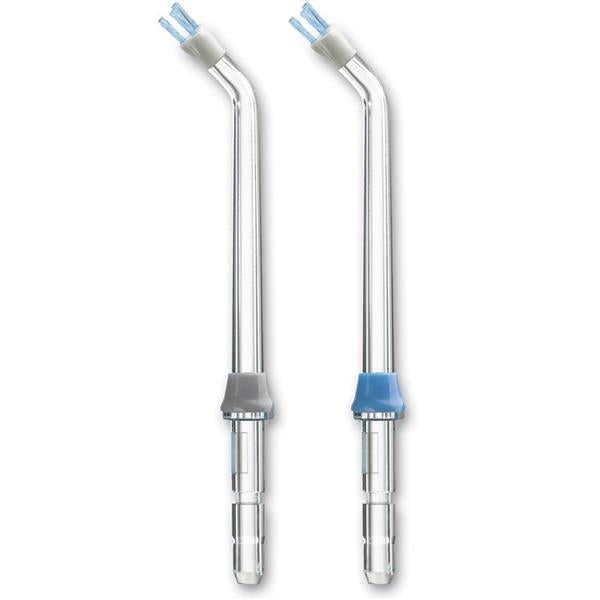
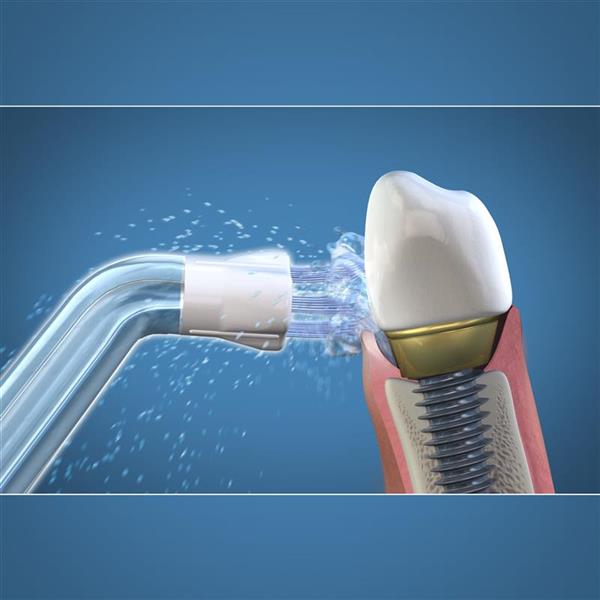
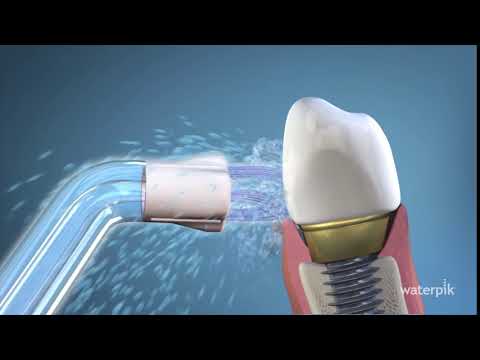
For implants, crowns, bridges, and other restorations. Clinically proven 2X as effective as string floss for implant patients, the Plaque Seeker Tip is designed to provide the benefits of pulsating water.
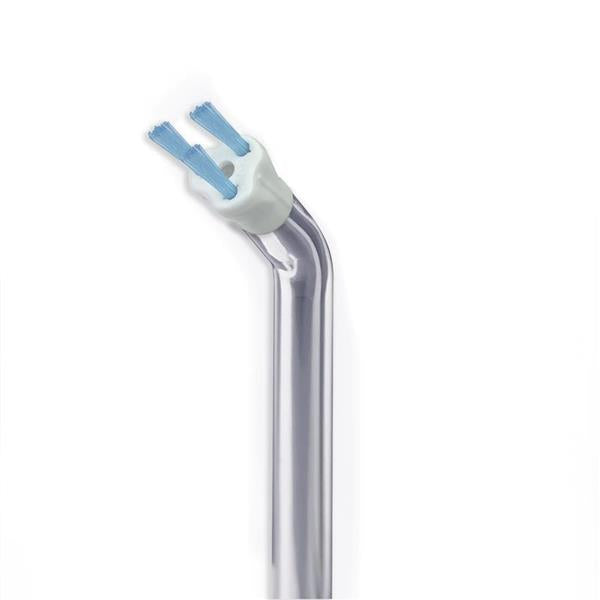
It has three thin tufts of bristles to access stubborn plaque around implants, crowns, bridges, veneers, and other areas that are especially susceptible to plaque accumulation.
Replace every 3 months
2 color-coded Water Flosser replacement tips per package (color of tips may vary)
Frequently Asked Questions
Browse our FAQs, click to Ask a Question, or find tips and accessories.
Browse Frequently Asked Questions
General instructions and a how to video are available:
Yes, our products come with 1-year limited warranty since the day you purchased it..
To learn how to clean your Water Flosser, see
For Cordless Advanced and Cordless Select models:
To maximize the capacity and life of the rechargeable batteries, give the unit a full charge (4 hours) prior to the first use. The unit should be charged 3-4 hours when the indicator light indicates that the unit needs to be charged.
Fully charge the unit before extended periods of no use. We recommend fully charging every month when the unit is in storage.
For ION models:
Plug the power supply into the wall outlet and connect the magnetic plug to the unit for approximately 4.5-5 hours. When the batteries are in need of charging the charge indicator light will blink 3 times quickly. A complete recharge will take 4.5-5 hours.
Our cordless models are shower safe. The Ion unit is not completely waterproof and cannot be used in the shower.
The most common reason for little or no water flow is a clogged jet tip. You can troubleshoot this condition by removing the jet tip and observing if water bubbles up from the top when the device is powered on.
To remove the tip, press the Tip Eject button (refer to your owner's manual if needed).
To clean the tip, soak it in a container of hydrogen peroxide or white vinegar for 5-7 minutes. Rinse the tip under warm water.
For first time use, prime the unit:
- If your unit has a black rubber valve in the water reservoir, ensure that the black valve is installed with the dome side facing up and the four-pronged side facing down to connect with the base of the unit.
- Fill reservoir at least half-full of water. Ensure the reservoir is firmly seated onto the base of the unit. Press down firmly to engage the reservoir to the base of the unit.
- Confirm the unit is plugged into an active electrical outlet.
- Set the Water Flosser to the highest pressure setting, and if the handle has an on/off slide switch, make sure it is in the ON position. Then point the handle downward towards the sink and turn the unit on; this generally starts the flow of water within 30 seconds.
- If this process fails to start the flow of water, insert a jet tip and gently draw on the tip as you would a drinking straw.
Drop in pressure or flow:
- It is recommended that when applicable, you replace tips every 3-6 months. (Consult the instruction manual for specific replacement information for each tip.)
- Add 2 tablespoons of white vinegar to a full reservoir of warm water.
- If your tip is removable, remove the tip, set pressure control dial to high, place the handle in the sink.
- With the unit in the OFF position, allow gravity to drain the vinegar solution through the Water Flosser.
- Rinse by repeating with a full reservoir of clean warm water.
Water Flosser products are not intended to store liquid between uses - ensure your product is emptied after each use.
If your unit has a black rubber valve plugging the bottom of the reservoir tank:
- Remove the black rubber valve from the water tank by pushing it out from the bottom.
- Run the valve under warm water and massage with your fingers.
- Return the black valve to the tank. Ensure the dome side is facing up and the four-prong side is showing on the bottom.
- If the valve continues to leak, you may need to replace it.
Mouthwash or other recommended antibacterial solutions can be used in our Water Flossers. We recommend using no more than a 1:1 ratio of solution to water. After using additives, run at least one-half reservoir of plain water through the unit to flush the water pathway. Do not use mouthwashes or additives that contain iodine, peroxide, baking soda, or water-insoluble concentrated oils (such as Tea Tree Oil). Use of these items can reduce the product performance and will shorten the life of the unit. Do not use a salt/saline solution in any handheld cordless unit. If additives are being used, it is highly recommended that the cleaning procedure is done at least once a month.
